
Measuring a room accurately is a fundamental step in various endeavors, whether you’re planning a home renovation, selecting new furniture, or creating a floor plan. While it may sound like a time-consuming task, you can efficiently measure a room in just 15 minutes with the right approach. In this guide, we’ll walk you through the steps to measure a room quickly and accurately without missing any crucial details.
The Importance of Accurate Room Measurements
Accurate room measurements are essential for several reasons:
- Space Planning: Proper measurements help you plan the layout of furniture and fixtures effectively.
- Budgeting: Accurate measurements are crucial when purchasing materials for home improvement projects to prevent wastage.
- Design and Decor: Interior designers rely on precise measurements to create balanced and harmonious spaces.
- Resale Value: Accurate floor plans and room measurements can enhance the resale value of your property.
Tools You’ll Need
Before you begin, gather the following tools:
- Measuring Tape: A retractable measuring tape is essential for precise measurements.
- Notebook and Pen: To record measurements and notes.
- Laser Distance Measurer (Optional): While not necessary, a laser measurer can speed up the process.
Step-by-Step Guide to Efficient Room Measurement
Follow these steps to measure a room quickly and accurately:
1. Prepare the Room
- Remove any obstructions, such as furniture and clutter, to access all areas easily.
2. Choose a Starting Point
- Select a clear starting point, typically at the entrance, and work your way around the room in a clockwise or counterclockwise direction.
3. Measure Walls
- Measure each wall individually, starting from the corner closest to your starting point.
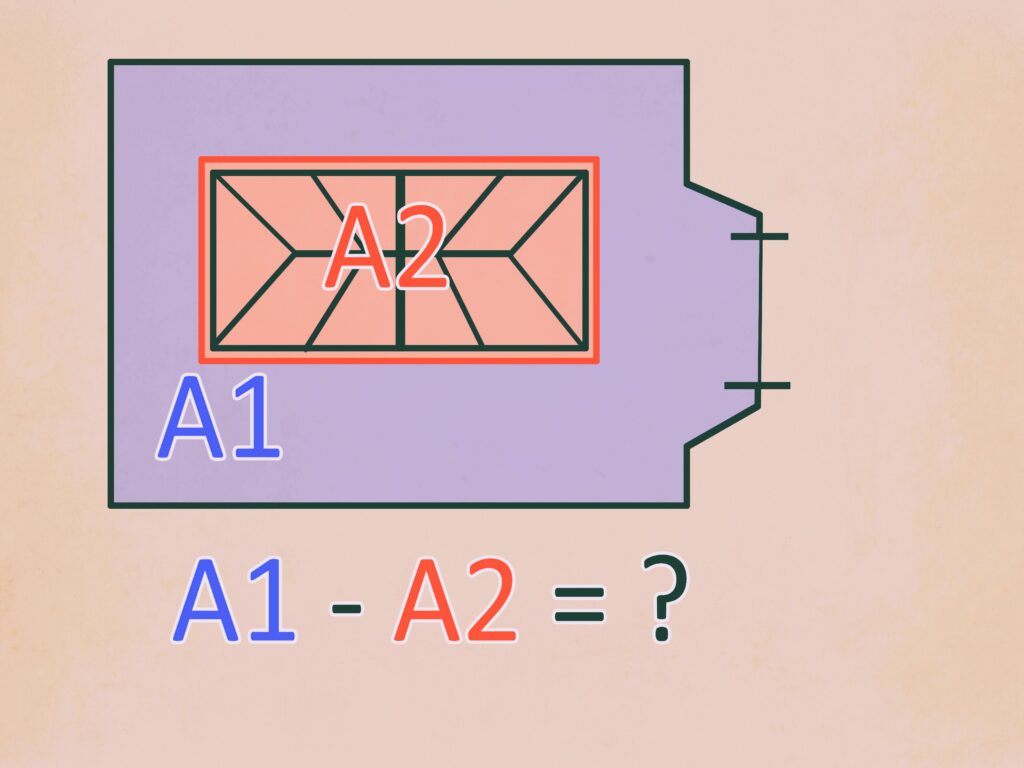
- Record the length of each wall, including doors and windows. Measure the width and height of doors and windows as well. The use of natural materials in interior design, more details in our article.
4. Include Alcoves and Protrusions
- Don’t forget to measure any alcoves, bay windows, or protrusions.
- Measure the depth and height of alcoves or built-in shelving units.
5. Measure Ceiling Height
- Measure the height of the ceiling at various points throughout the room. In most cases, ceiling height is relatively consistent, but measuring in multiple places helps ensure accuracy.
6. Note Obstructions
- Make notes of any obstructions, such as radiators, outlets, or light switches, and their positions on the walls.
7. Check Floor and Wall Deviations
- Use a level to check for floor and wall deviations. Note any significant variations.
8. Measure Openings
- Measure the width and height of any doorways, archways, or openings between rooms.
9. Windows and Sills
- Measure the height and width of windows.
- Note the distance from the floor to the window sill and from the ceiling to the top of the window frame.
10. Check Corners and Angles
- Use a protractor or angle finder to measure any unusual angles or corners.
11. Record Everything
- Write down all measurements and notes as you go along. Be sure to label each measurement clearly.
12. Verify and Double-Check
- Before you finish, take a moment to verify your measurements. Make sure they add up and are consistent.
Resources for Additional Guidance
For additional guidance on room measurement techniques and standards, consider referring to resources such as Wikipedia. These sources can provide information on measurement standards and best practices for various applications.
Conclusion
Efficiently measuring a room in 15 minutes without missing any crucial details is entirely achievable with the right tools and approach. Accurate room measurements are the foundation for successful interior design, home improvement projects, and space planning. By following the steps outlined in this guide, you can ensure that your measurements are precise and reliable, saving you time and effort in your endeavors.